
Vehicle wraps have become one of the most popular and effective ways to customize and protect a vehicle while promoting a brand or personal style. Whether you’re wrapping a car for aesthetic appeal or advertising purposes, a professional-quality installation is essential for achieving a flawless finish. In this guide, we’ll explore the essential steps, tools, and techniques required to master the art of vehicle wrap installation.
Why Choose Vehicle Wrapping?
Vehicle wrapping offers numerous benefits, including:
- Protection: A wrap can shield the original paint from scratches, UV damage, and environmental contaminants.
- Customization: A wide range of colors, textures, and finishes allow for complete personalization.
- Marketing Opportunities: Businesses can use vehicle wraps as mobile billboards, increasing brand visibility.
- Reversibility: Unlike paint, wraps can be removed without damaging the vehicle’s surface.
Essential Tools for Vehicle Wrapping
Before starting a wrap installation, ensure you have the right tools for the job:
- Vinyl Wrap Film: High-quality vinyl from brands like 3M, Avery Dennison, or Oracal is recommended.
- Heat Gun or Torch: Helps stretch and set the vinyl properly.
- Squeegee & Felt Edge Tools: Used to smooth out air bubbles and achieve a clean application.
- Knife & Blade: Precision cutting is crucial for trimming excess vinyl.
- Measuring Tape & Masking Tape: Ensures accurate alignment before application.
- Surface Cleaner: Removes grease, dirt, and wax for optimal adhesion.
Preparing the Vehicle for Wrapping
Proper preparation is key to a successful wrap installation:
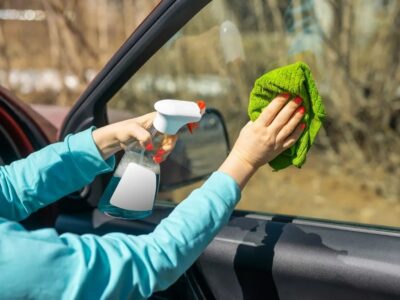
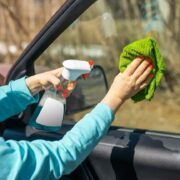
- Thorough Cleaning: Wash the vehicle with soap and water, then use isopropyl alcohol to remove any remaining contaminants.
- Remove Obstructions: Detach mirrors, emblems, and any other parts that may interfere with the application.
- Dry the Surface Completely: Any moisture can compromise the adhesion of the wrap.
- Plan the Layout: Pre-cut sections and measure how the wrap will be applied to ensure a seamless finish.
Step-by-Step Installation Process
1. Positioning the Wrap
Before peeling the backing, position the wrap over the vehicle panel to visualize placement. Use masking tape to hold sections in place if needed.
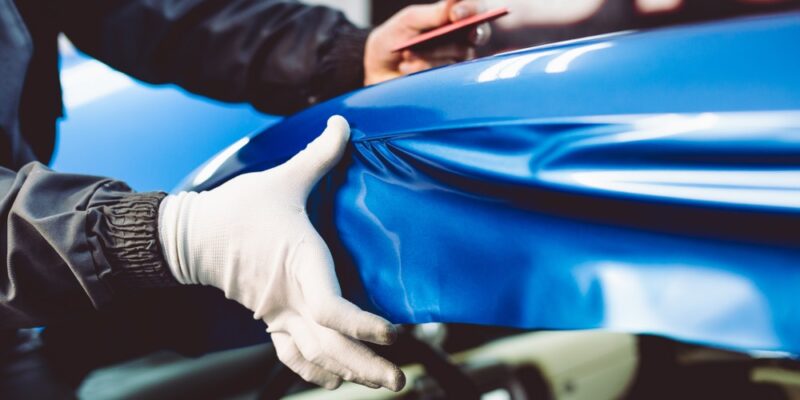
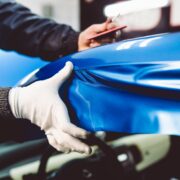
2. Tack Down and Apply the Vinyl
Peel a small section of the backing and begin applying the wrap using a squeegee. Work from the center outward to prevent air bubbles and wrinkles.
3. Heat and Stretch for Curved Areas
Use a heat gun to soften the vinyl, making it easier to stretch around complex curves and contours. Be careful not to overheat, as this can distort the material.
4. Trimming and Tucking
Use a sharp knife to trim excess vinyl, leaving enough to tuck around edges for a seamless look. Ensure clean cuts for a professional finish.
5. Post-Heating and Sealing
Once the wrap is applied, go over the entire surface with a heat gun to activate the adhesive and ensure longevity. Press down edges firmly to prevent peeling.
Common Mistakes to Avoid
- Skipping the Cleaning Process: Dirt and grease can prevent the wrap from adhering properly.
- Overstretching the Vinyl: This can cause distortion and weak spots.
- Ignoring Air Bubbles: Use proper techniques to remove bubbles before sealing.
- Rushing the Process: Take your time to ensure precise application for the best results.
Maintaining Your Vehicle Wrap
To prolong the life of your wrap:
- Hand wash only using mild soap and water.
- Avoid high-pressure washes and harsh chemicals.
- Store the vehicle in a shaded area to minimize UV exposure.
Conclusion
Vehicle wrapping is an art that requires patience, precision, and the right techniques. Whether you’re a professional installer or a DIY enthusiast, following these steps will help you achieve a flawless wrap every time. With proper maintenance, a high-quality wrap can last for years, providing protection and style to your vehicle. Happy wrapping!


Comments